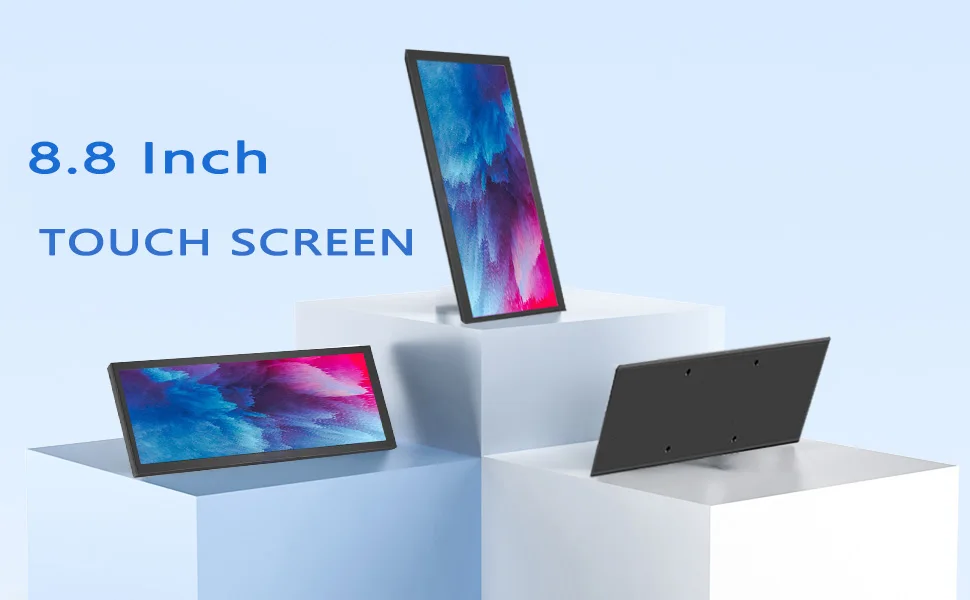
8.8 inch HDMI Touch Long Wide Monitor With Case PC Temperature Display PC Sensor Panel Display Small Extender Monitor(8.8/5inch)
")
")
")
")
")
")
")
")
")
")
")
")
")
")
")
")
")
")
")
")
")
Description
AIDA64 Setup Tutorial
https://www.bilibili.com/video/BV1yQ4y1P7C5/
https://www.bilibili.com/video/BV1bt4y1y7hX/
Product Description:
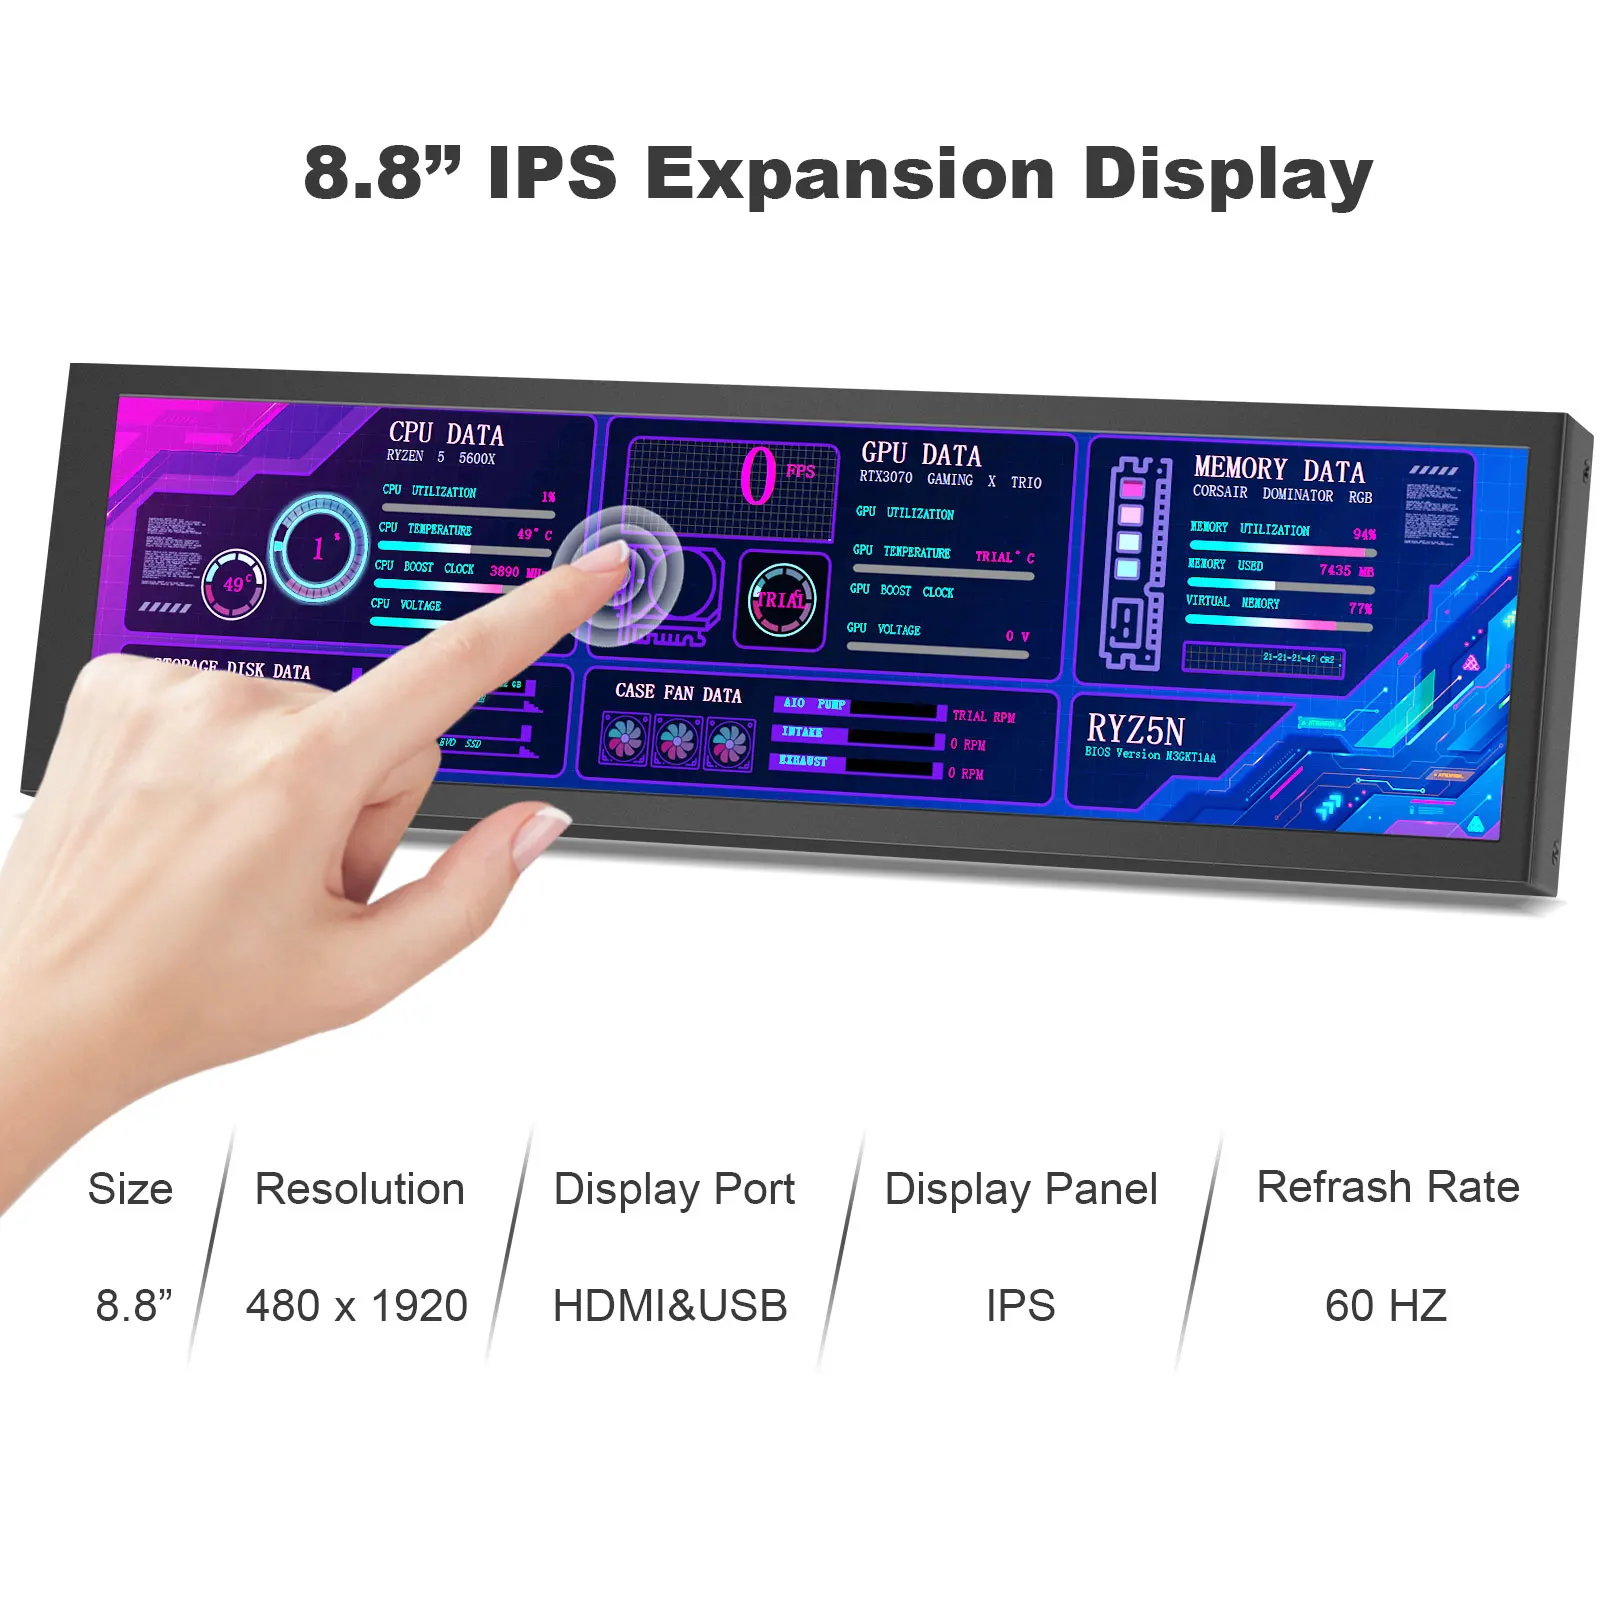
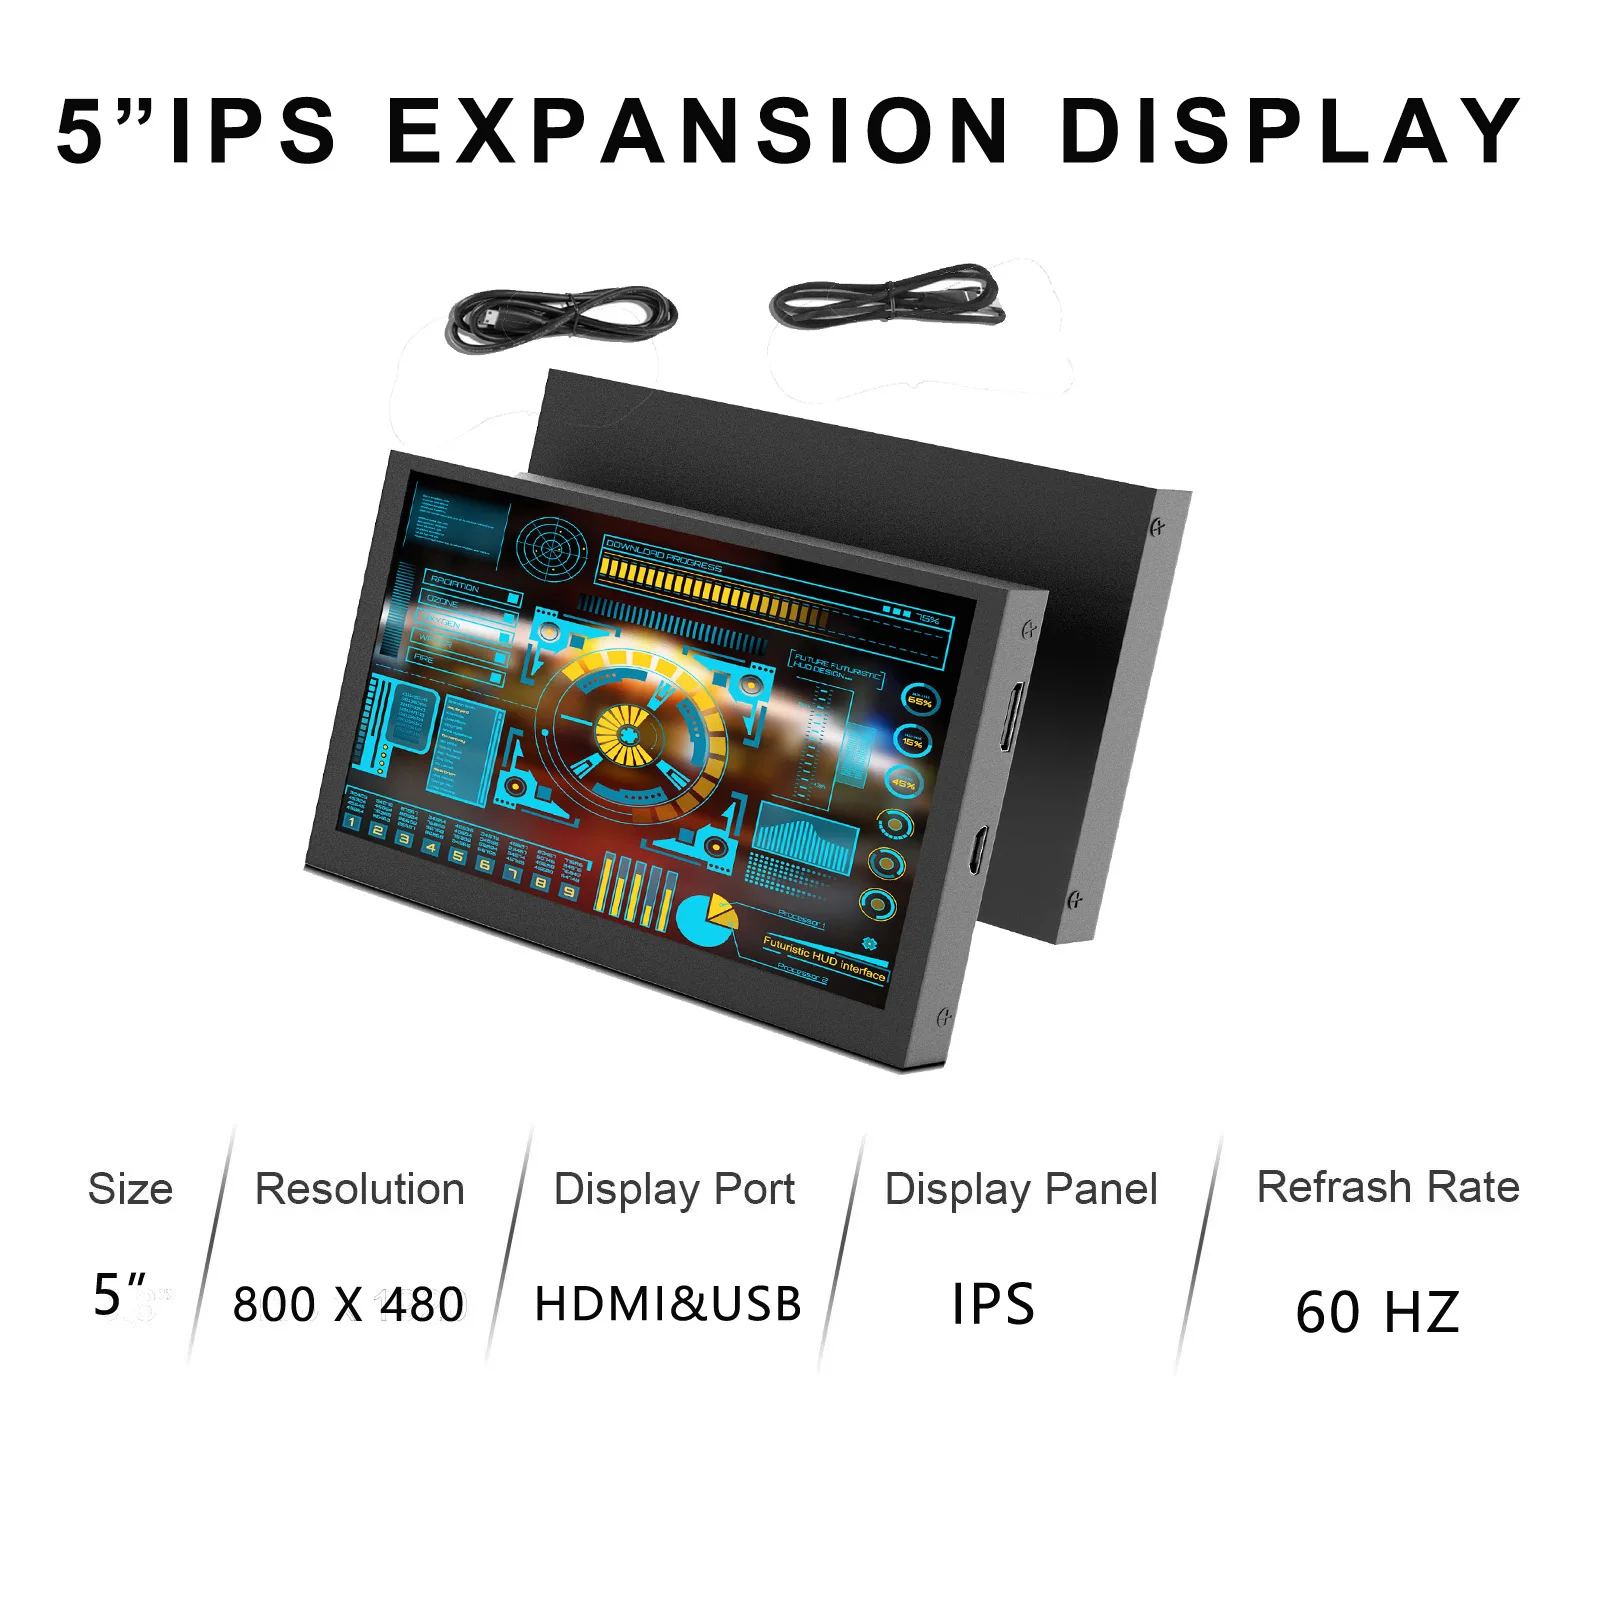
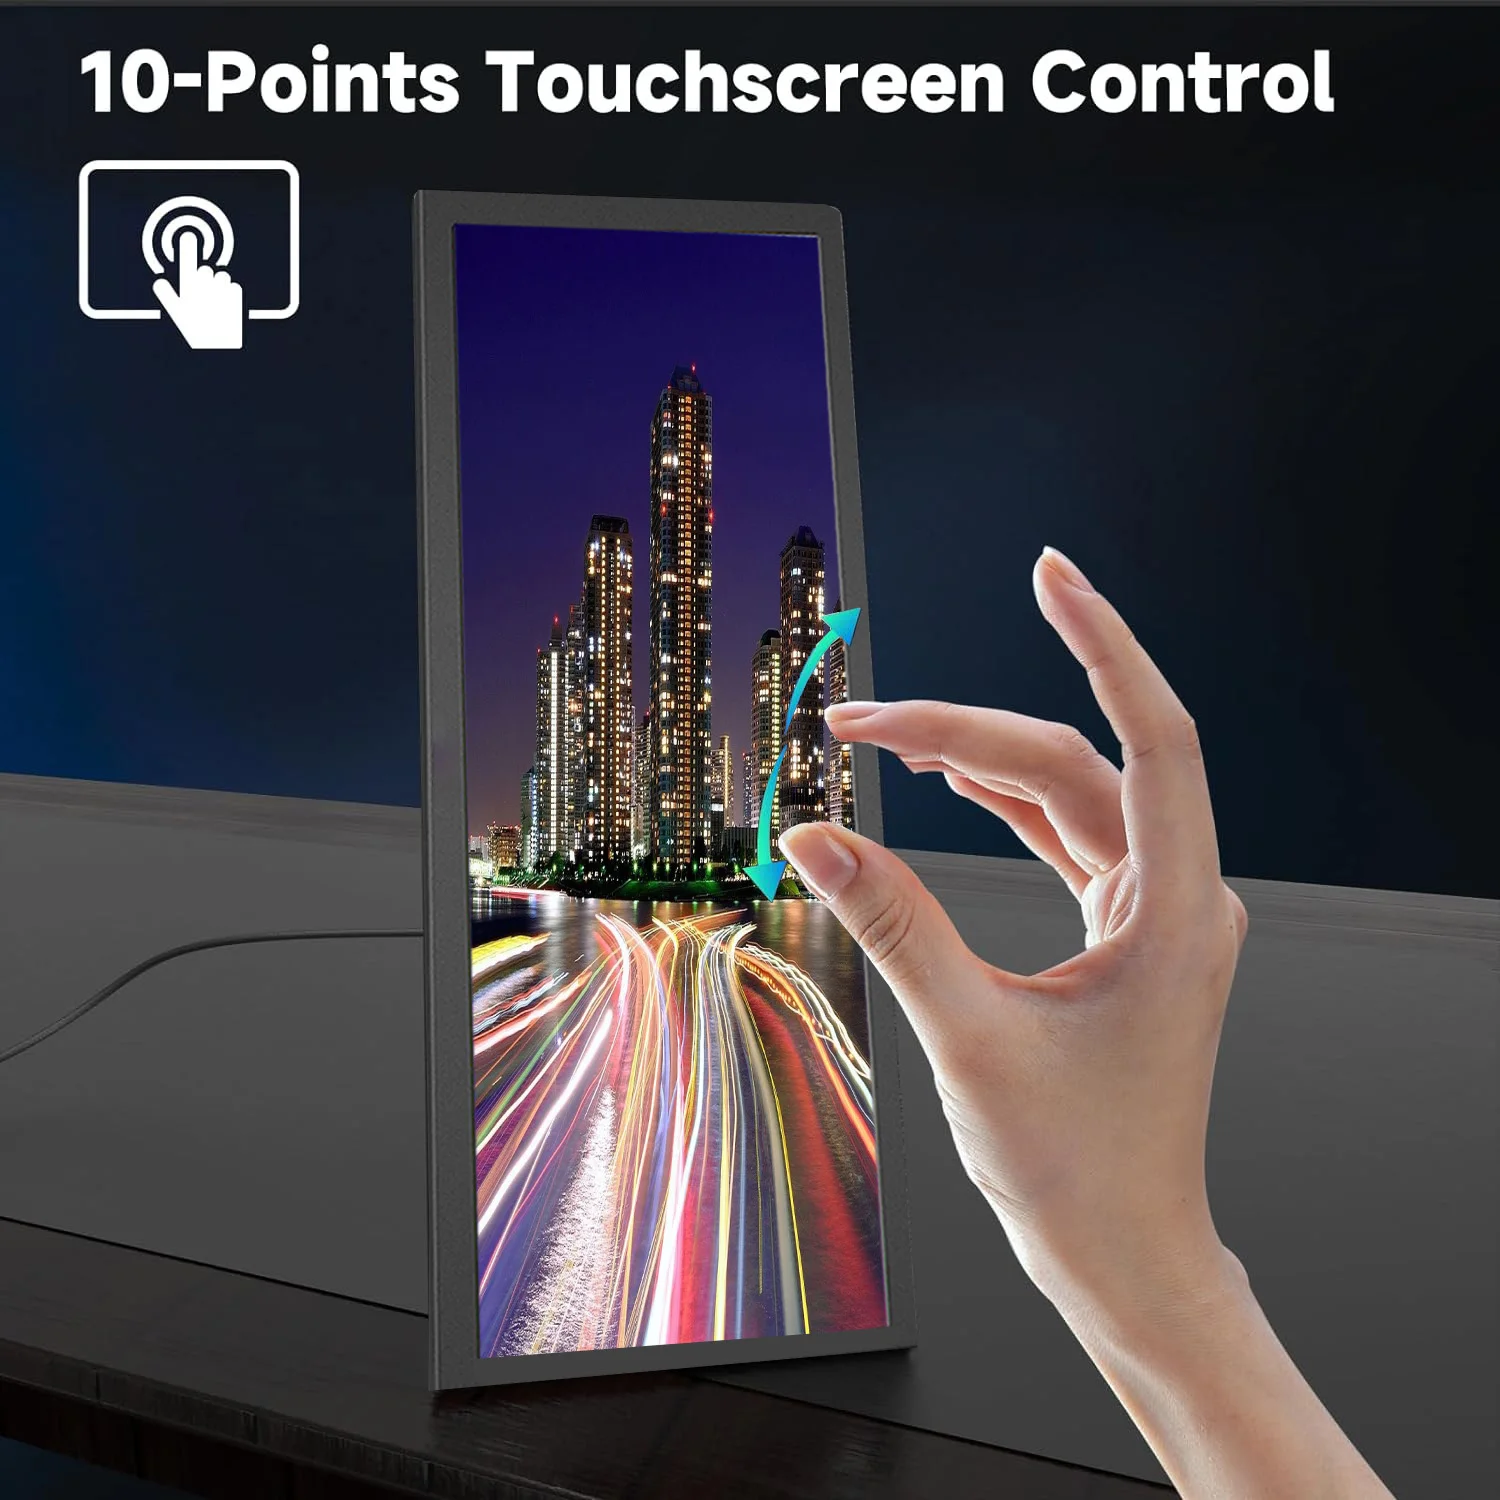
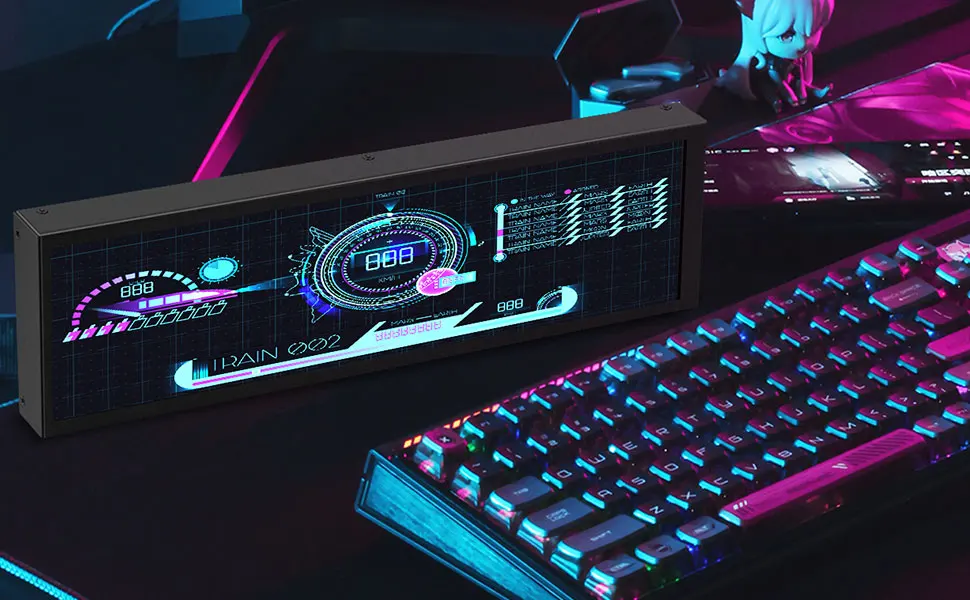
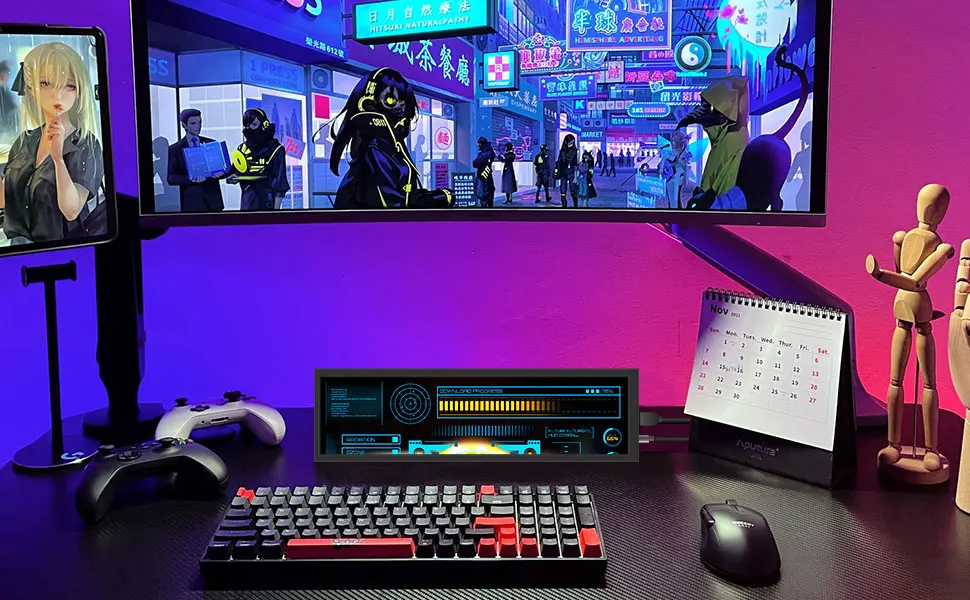
You can imagine it as just a small monitor.
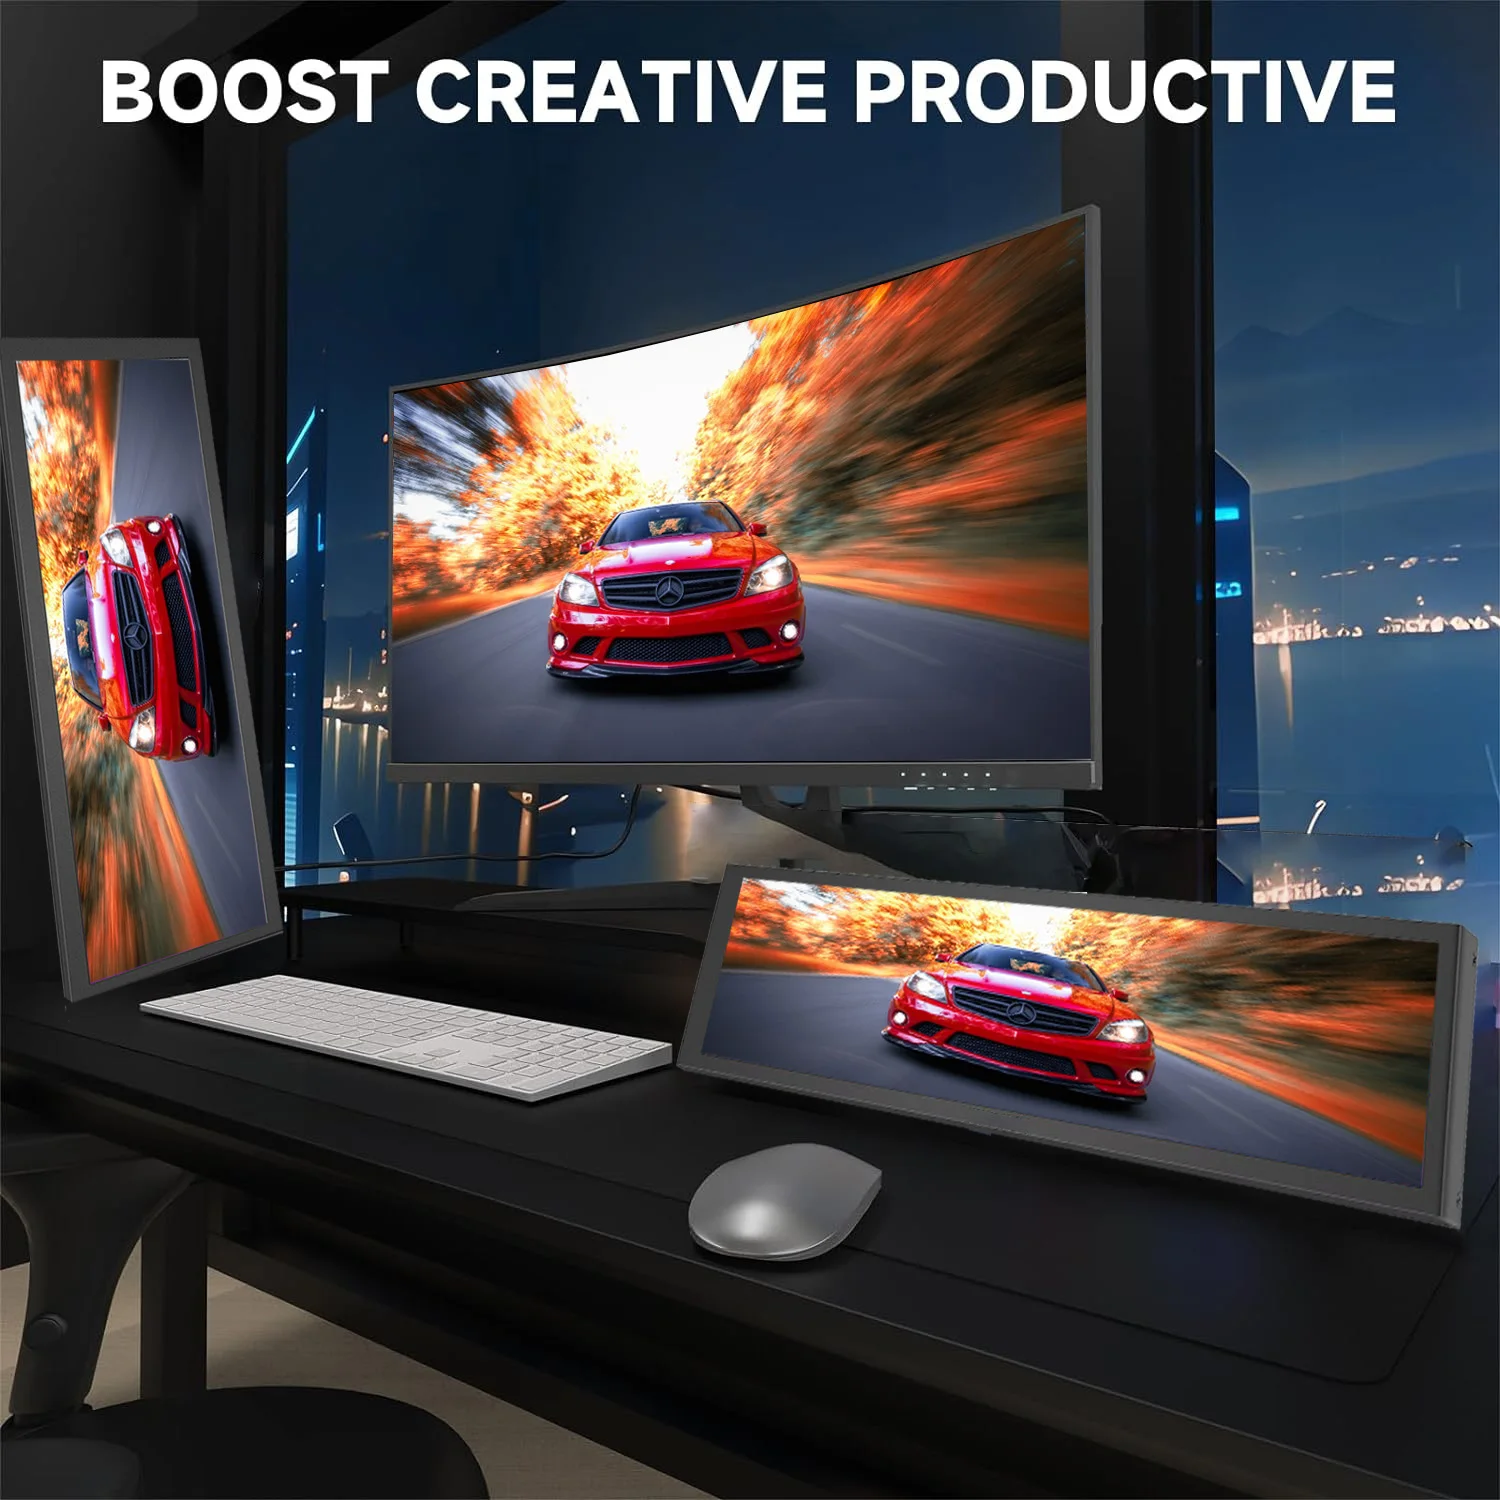
Can serve as an auxiliary screen for live streaming to watch barrage.
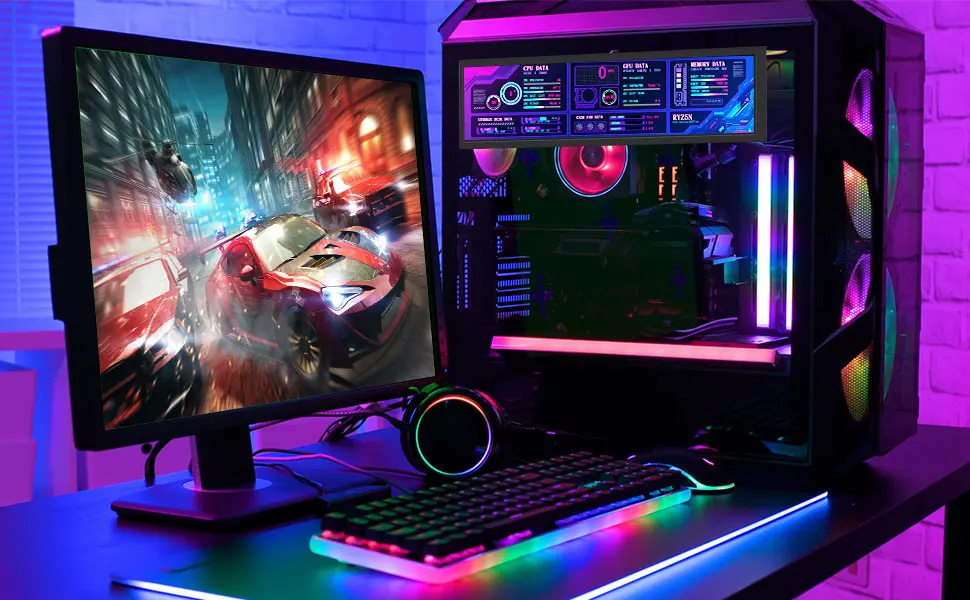
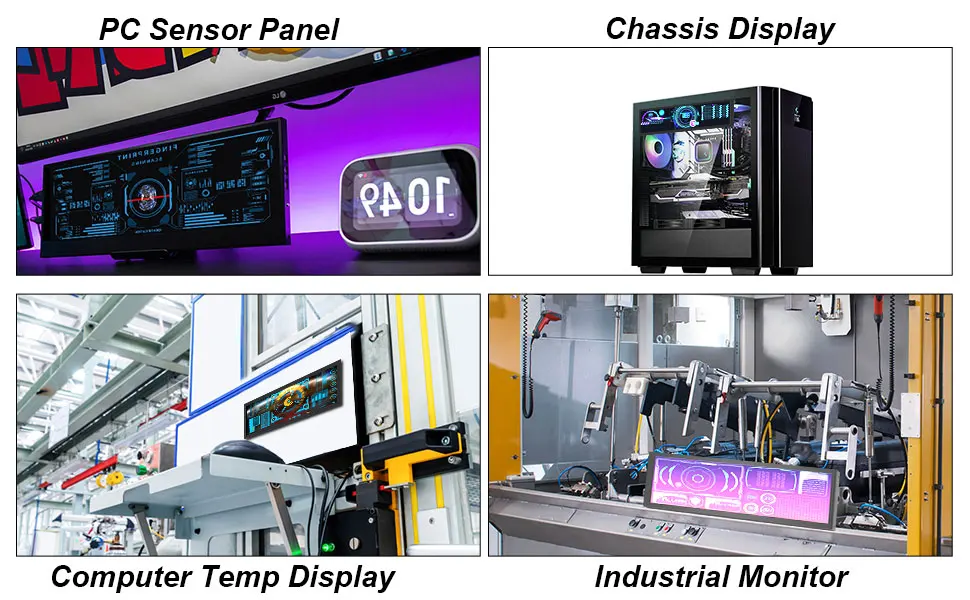
You can view the temperature and frequency parameters of the computer in real-time on the desktop or chassis, and watch online courses on TV while playing games.
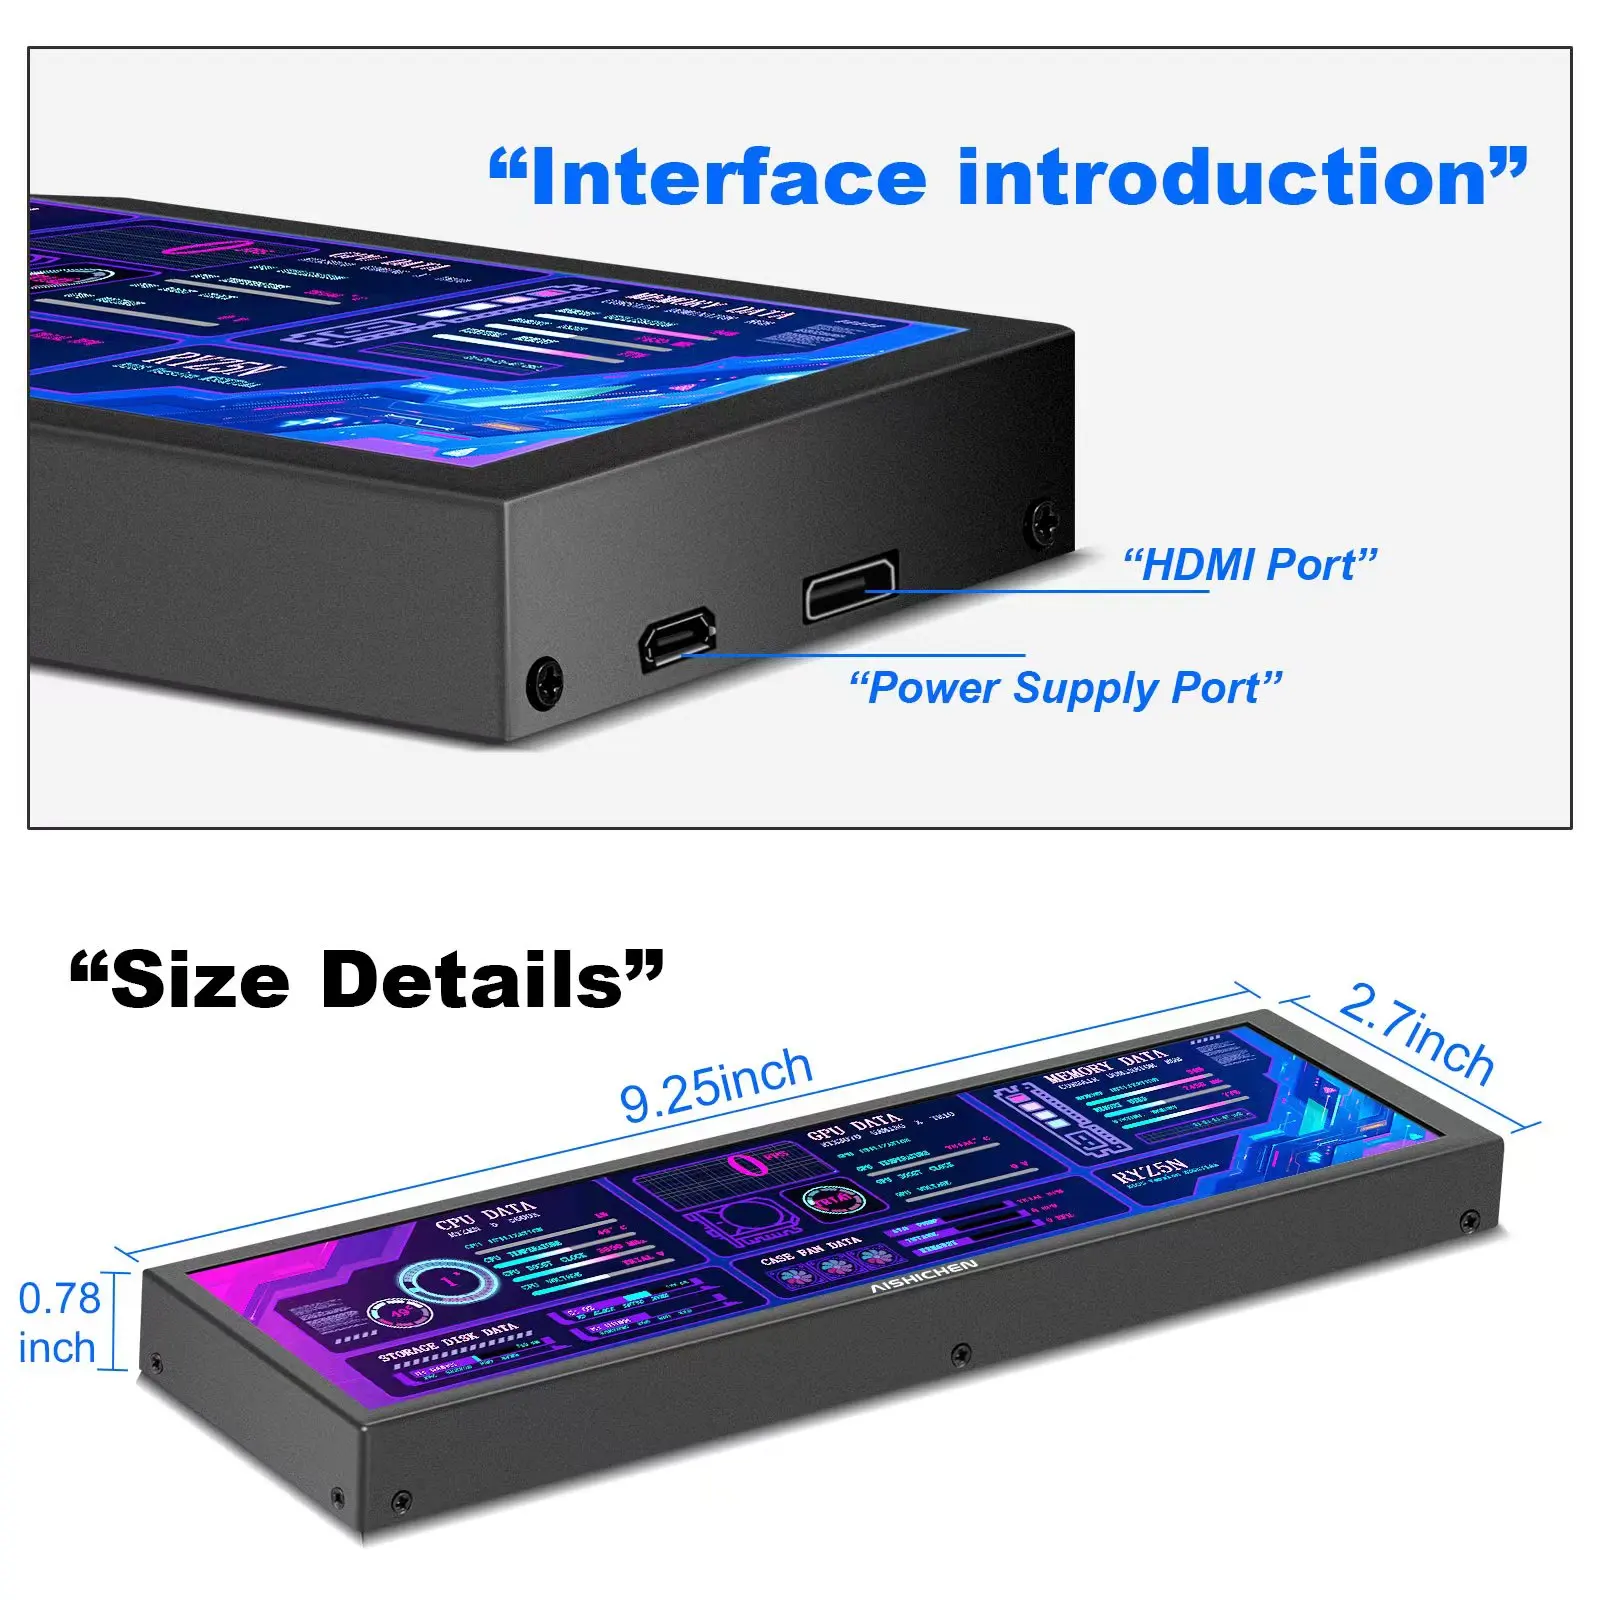
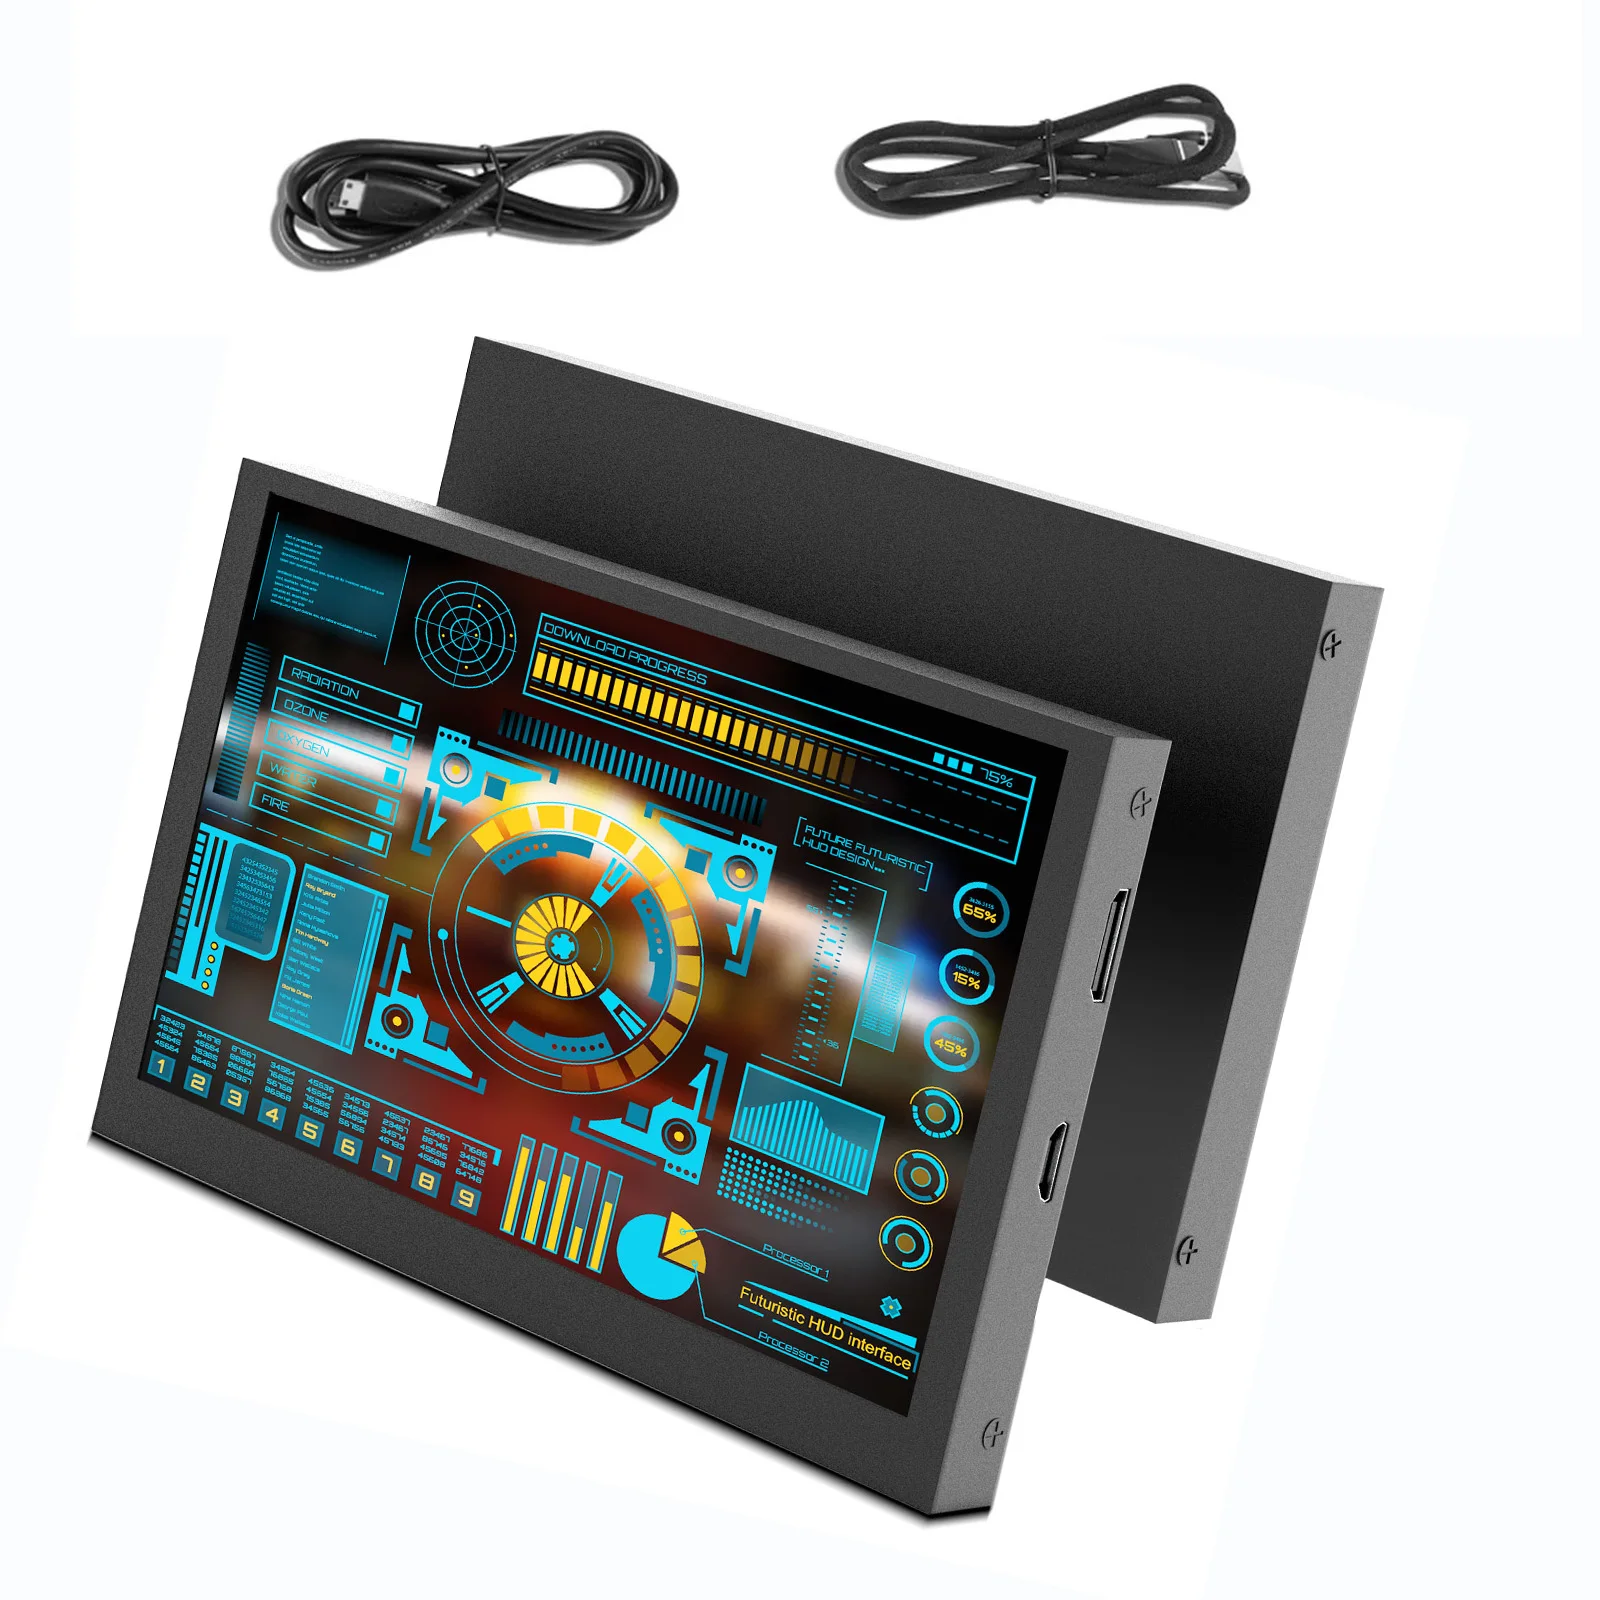
1) Hardware connection:
Use a USB cable to connect the USB port of the host computer to the power interface at the side of the screen to provide power
Use an HDMI cable to connect the HDMI port of the host to the HDMI port on the side of the screen for display
2) Computer display settings:
Right click the computer desktop to enter "Display Settings"
Select the corresponding display, set the display mode to "expand these displays", and adjust the display direction to landscape
3) AIDA64 software settings
Download AIDA64 software, decompress and open the aida64.exe application
Right click to open the "AIDA64" software icon on the taskbar and enter the "Display sensor information board"
Right click the blue area that pops up to enter the "Management Sensor Information Board"
Import the template and drag the "sensor information board" to the secondary screen to complete the setting. (If you need a template, you can contact the seller directly for it.)
AIDA64+Wallpaper Engine Dynamic Background Production Tutorial
1) Download steam software, install Wallpaper Engine application (the application needs to be purchased for a fee), open Wallpaper Engine and download your favorite dynamic wallpaper in the "Creative Workshop", right click and select "Open in Explorer", and you can see the downloaded wallpaper MP4 file in the corresponding folder.
2) Open the format conversion website and convert the MP4 file to GIF format.
3) Right click the GIF file and click "Properties" to view the "Resolution" of "Details". If it is inconsistent with the screen resolution, you need to modify the resolution of the GIF file to 1920 x 480 through Photoshop (or other software).
4) Right click the AIDA64 icon and select "Settings"
5) In the pop-up LCD item, click "New" → "Image" → Import. gif dynamic underlay in the lower right corner.
6) After importing the dynamic image, select OK, open the web address, enter the IP address of the machine, drag the web page to the secondary screen, and press F11 to display the dynamic background.
Take my computer as an example: My IP is 192.168.1.183. After entering the webpage, you can view the AIDA64 setting effect.
FAQ
Question: The system has HDMI signal input, but the screen is always black. How to solve it?
Some master controllers need to connect HDMI cable before powering on.
If you see that the HDMI signal exists in the system display setting, and it is the correct 480x1920 resolution, please try to connect the HDMI cable first, and then connect the screen power supply. (When the power is connected, try to plug and unplug the power supply again)
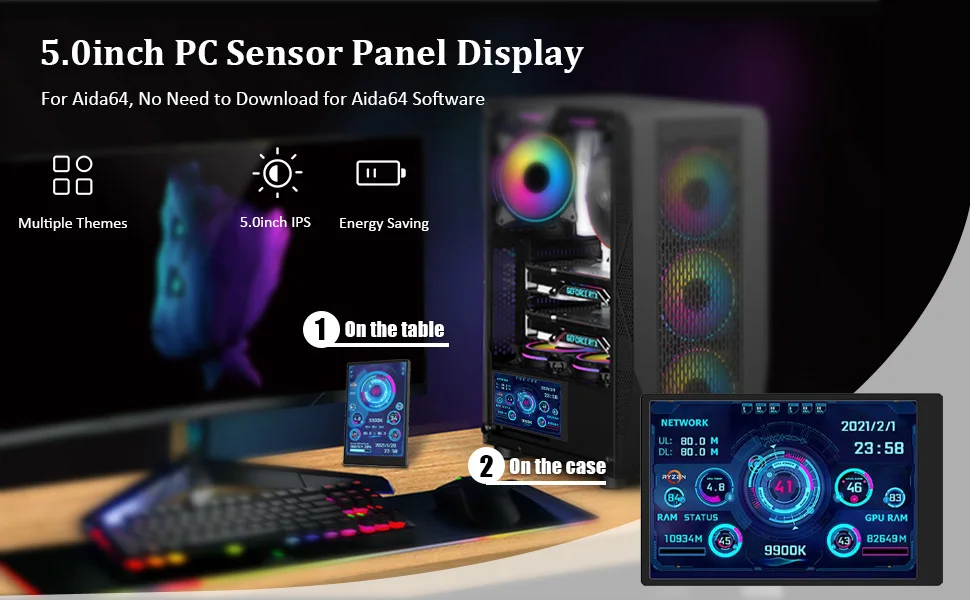
Question: What is the power consumption of 8.8inch Side Monitor?
Darkest brightness: 5V 260mA
Maximum brightness: 5V 500mA


Related Products


24 inch 75hz Monitor Gamer 1920*1080p Curved Monitor PC HDMI Compatible Monitors LCD Displays Desktop 22 inch Computer Monitors


165hz Monitors Gamer 24 inch 1920* 1080p LCD Curved Monitor PC HDMI Compatible monitor desktop HD gaming Monitor 144hz displays


21.5 Inch Capacitive Touch Screen Monitors Industrial Android 9.0 Wall Mounted All In One Pc Lcd Advertising Display panel pc


